

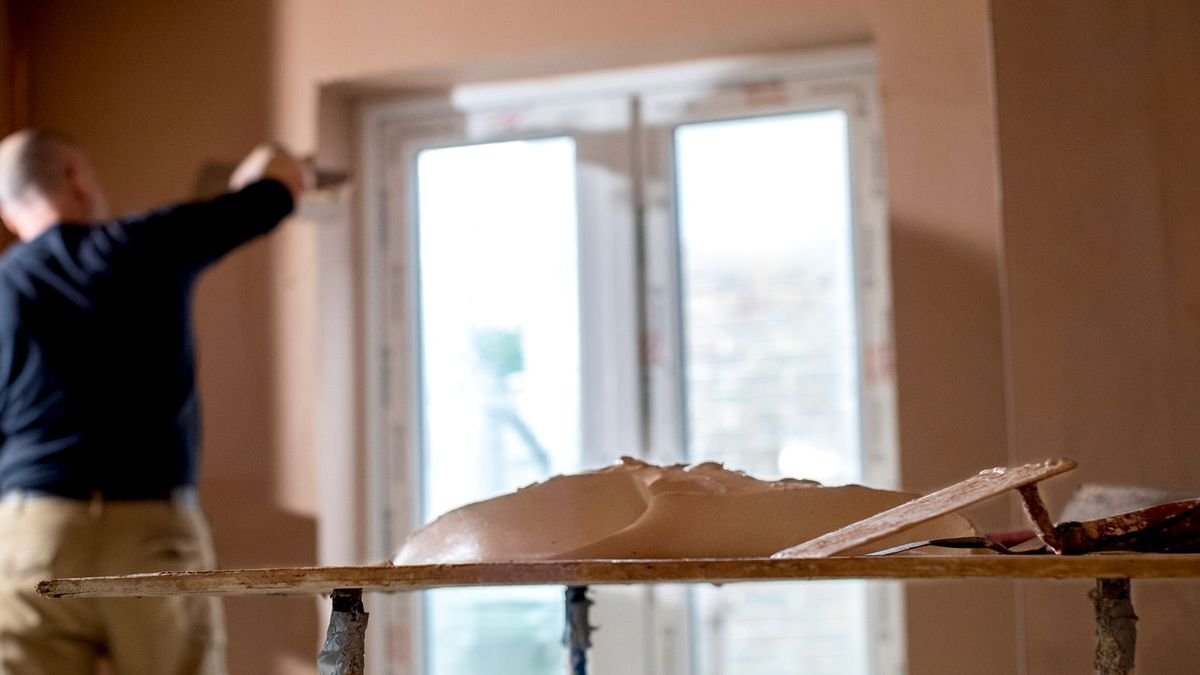

Do you want to know how to plaster a wall? Then you ‘ve come to the right place. The thought of plastering a wall may seem daunting, but with the know-how of a few pro techniques and the right tools – these are essential to get the job done properly – you will be able to achieve a super smooth wall.
Whether you are tackling a previously plastered wall or plasterboarding a stud wall the steps you need to plaster are very similar, with a few subtle differences. Here we reveal what you need to know to get both right – with a little practice if you’re a first timer – to give you smooth walls ready for a splash of paint or wallpaper.
Before you start, it is worth noting that you shouldn’t plaster if a room is very hot or very cold as this can cause problems with timings and the plaster potentially drying unevenly.
How to plaster a wall: Tools and materials
Before you plaster a wall make sure you have all the tools and materials you need before you start.
- Plaster mix
- Trowel
- Hawk
- Spot board and stand
- Electric paddle mixer
- Large mixing bucket
- Large paint brush or spray bottle
- PVA glue for primer (if needed)
Steps to plaster a wall for a smooth finish
Here we reveal the techniques you need to plaster an old wall or plasterboard.
1. Prepare and prime walls for plastering
If you are plastering over an old wall you need to make sure that it is flake-free and clean. Ideally lay down some plastic dust sheets like these ARVO Large Plastic Dust Sheets from Amazon to catch any debris, and later on plaster.
Get a stiff brush and brush down the whole wall starting at the top. Use a paint scraper to get rid of any loose material and sandpaper to finish. Wash down with sugar soap to degrease and prime the wall with a mixture of one part PVA and four parts water. Apply with a roller.
If you are skimming plasterboard you will need to use jointing tape or scrim tape and jointing compound to cover the joins to create a flat surface to apply the plaster. Make sure to let the compound dry properly before starting. This ensures that there are no weak spots where the plaster may crack.
2. Mix up your plaster
Measure up your wall to see how much plaster you will need. Check the plaster packaging to guide you on quantities. Get a large mixing bucket and fill with as much water as needed. Now gradually add the required amount of plaster and use a paddle mixer like this VonHaus Paddle Mixer Drill from Amazon to mix. Make sure the paddle is fully immersed in the mixture before starting. Use a trowel to scrape in any dry plaster on the side of the bucket.
Alternatively you can use a paddle mixer for drills, but this is best suited to smaller quantities of plaster. Or hire a paddle mixer for the duration of the job.
3. Apply first coat of plaster
Set up your spot board and stand and add around three or four scoops of plaster with a bucket trowel like this Spear & Jackson 7.5-Inch Bucket Trowel from Amazon. Wet your plaster trowel and hawk and add a thin layer of plaster on the hawk to help stop the plaster sliding off. Get your hawk and push on around a third of the plaster onto it.
Now place your trowel under the plaster and move the hawk up to a 30-45 degree angle to help get it onto the trowel. If you’re a novice, practice first.
There are several ways to apply plaster, start at the bottom left and push on the plaster in swift arcs and continue until the wall is covered. You should be aiming for a thickness of around 1-2mm. For corners and edges such as the ceiling and wall corner, add plaster with the long edge and push out to the same depth of the plaster just applied. Some plasterers like to start at the top and work down using the smooth arc motion. Use which method works best for you.
Leave for 15 minutes (+/- if room temperature is warmer or colder) and get your trowel – make sure it’s clean – and go across from corner to corner to get rid of any obvious lines or lumps. Don’t worry too much if it’s not perfect.
4. Apply second coat of plaster
Mix up another batch of plaster – the same amount as before – and apply the second coat as you did the first. This should be around the same thickness as before. This will fill in any dips or gaps.
Leave to dry for 15 minutes (depending on room temperature) and do a touch test. Touch the wall with your finger and if dry enough it should leave a slight imprint. Leave to dry for longer if needed.
5. Wet and smooth walls
Clean your trowel and wet the walls. You can use a large paintbrush and flick clean water onto the wall or a spray bottle (this takes longer). Now get your trowel and gently place it on the wall and use a top to bottom and side to side motion to get rid of any imperfections and smooth out the plaster.
Leave to dry for 5-10 minutes and repeat the process to help get a smoother finish. If needed repeat the process again. Make sure that the corners are smooth. Finally get a paintbrush or trowel and run down the corner edges to get rid of any lumps or bumps to complete your smooth finish.
6. Clean and leave to dry
As soon as the plastering is finished, your tools need to be cleaned thoroughly ready for the next time they are used. Get rid of any plaster left in the mixing bucket, add clean water and use a stiff hand brush to remove as much as the plaster as possible. Repeat until the bucket is clean. Now add a decent amount of clean water to the bucket and clean your tools – trowels, paddle mixer, hawk etc and leave out to dry.
The plaster needs to be left to dry completely before you start any work on it. This can take anywhere from 2-3 days to a couple of weeks. If your plaster isn’t as smooth as you want – it should be – you can use an orbital or hand sander like this BLACK+DECKER 55 W Detail Mouse Electric Sander from Amazon or the best hand sanders with a fine grit sandpaper to get rid of unwanted ridges and edges. Make sure you use appropriate PPE and dust masks if you do this.
FAQs
What plaster should I use for my walls?
What plaster you will need for your wall will depend on what surface is being plastered and whether you are applying a base coat and top coat. If you are plastering onto plasterboard you can use an all-round plaster like the Thistle MultiFinish Plaster from B&Q. Another option is Thistle Finishing plaster which works on most surfaces and is ideal for a smooth skim.
If you are plastering a bare brick or block wall you will need to start with an undercoat. You can use an undercoat plaster like this Thistle Undercoat plaster from B&Q which leaves a gritty finish – to help the top coat adhere – or a browning plaster before applying a finishing plaster.
Is it OK to paint straight onto plaster?
No. New plaster needs to be sealed before you paint or decorate. New plaster is very porous and will suck up any liquid which can lead to issues further down the line. The first thing you need to do when painting new plaster is let the plaster dry completely before applying what is known as a mist coat. If the plaster is not completely dry, paint can flake and trap in moisture.
A mist coat is effectively watered down emulsion that will soak into the plaster and create a barrier making it easier to apply a top coat.
If looking to get a neat new finish on plaster and plasterboard anywhere around the home check out our guides wallpapering new plaster, tiling onto plasterboard and can you paint straight onto plasterboard to help you get the right finish.