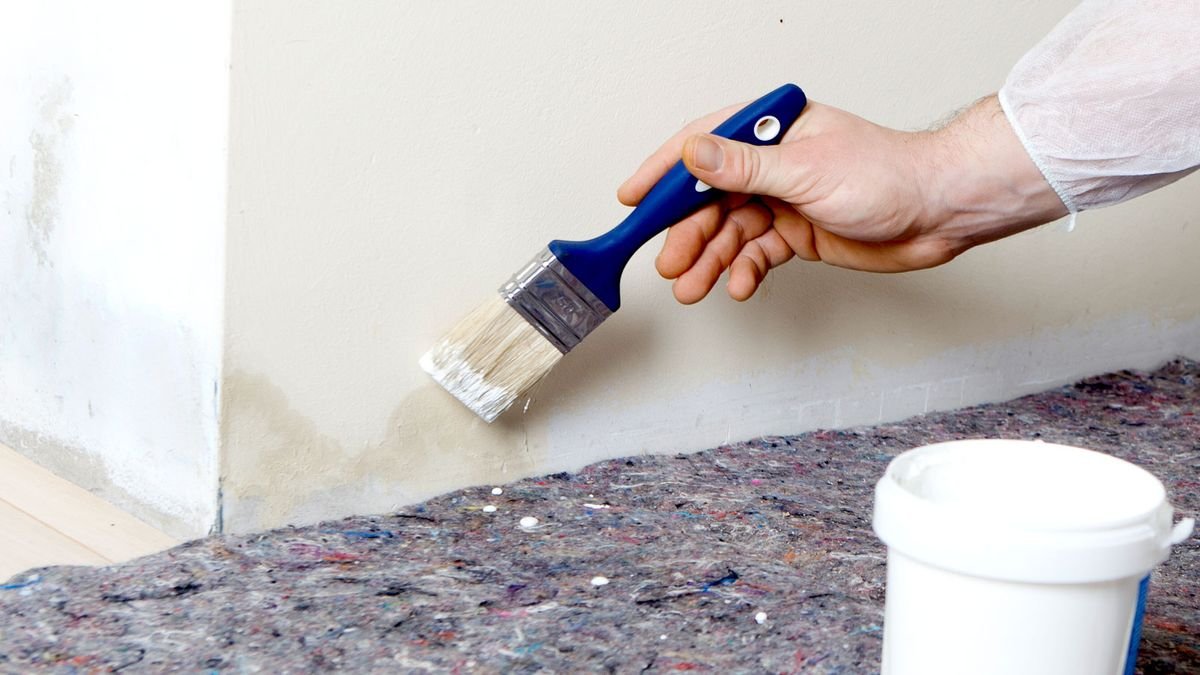
Damp is a destroyer in the home and can lead to all sorts of problems. And painting over damp is one simple solution to help hide the ugly marks and stains that it leaves behind. But it is not just as simple as giving it a wipe clean and adding a few coats of paint.
Damp needs to be dealt with before you think about painting over it. Once it has been then it’s time to do your prep and pick the right paints to make sure that you get a finish that stays fresh and looking good.
Painting over damp: what do I need to do first?
The appearance of damp means there is an underlying issue that is causing the problem and ideally this needs to be dealt with first before you start painting. Knowing how to stop condensation on walls and ceilings can be one quick way to solve a damp issue.
But there may be more serious issues such as rising damp, leaking pipes, broken down damp proof course and failing gutters. Try to identify the root cause of the damp problem and get the issue fixed. Once the issue has been fixed it makes sense to wait for the problem area to dry out fully before you start painting to get the best finish.
What paint should I use on damp?
This will depend on whether the area you are painting is indoors or outdoors. If you are dealing with ugly stains and marks left on previously painted interior walls and ceilings you want to start with a paint that will cover the stain and block it from reappearing. Zinsser B-I-N from Amazon is a good all-round primer/sealer/stain killer that can be used on interior and exterior surfaces. An alternative option is to use an oil-based paint like Dulux Trade Undercoat.
If painting a high moisture area like a kitchen or bathroom, a mould resistant paint like this Zinsser Perma White Self-Priming Interior Paint from Amazon is a good choice for the top coat and to keep surfaces looking good for longer.
For exterior surfaces use a suitable masonry paint such as this Sandtex masonry paint from Amazon. This is suitable for render, concrete, blocks and brick and is available in smooth and textured finishes. Alternatively, try this Dulux Weathershield masonry paint from Amazon. Or for more extreme conditions try this Sandtex Trade X-treme X-posure Smooth Masonry Paint.
3 steps to paint over damp
Make sure you have the right paint, clean brushes and rollers and dust sheets – like these brackit 8-Pack, Large Plastic Dust Sheets for Decorating from Amazon – on hand before you start.
1. Prep and clean area
Peeling paint and loose plaster will need to be removed before you start painting. Get a scraper to remove loose debris and finish with a wire brush. Wash down the walls with a suitable mould killer like this Zinsser Professional Mould Killer and Remover from Amazon.
2. Fill and sand
Damp will cause holes and cracks in walls and ceilings and these need to be filled before you paint. Use a suitable all purpose filler or patching plaster like this Palace Langlow Patching Plaster from Amazon for larger cracks that need fixing.
Leave to dry as per the manufacturer’s instructions and then rub down with a 120-180 grit sandpaper grade. Then add a primer coat to help seal the plaster and leave to dry.
3. Apply top coat
Start by applying a layer of mould resistant paint. This is optional, alternatively you can just apply a layer of oil based paint. To finish, add your preferred top coat.
Painting over damp FAQs
How do I identify where damp is coming from?
The location of the damp will be a good indicator of where the problem lies. Rising damp comes from the ground and rises up. It is typically found around the bottom of walls. A broken damp proof course is the most common cause, especially in older properties, so will need replacing.
Penetrating damp is found where there is a structural issue in a home, commonly at the roof line. The problem is typically an issue with the roof or guttering. More random damp issues throughout a home can be leaking pipes or windows.
Condensation is a common damp problem often found in high moisture areas such as the bathroom or kitchen which promotes the growth of mould. Ventilating a room properly will help stop condensation and mould removal will help prepare an area for painting.
If you are having trouble identifying the cause of a damp problem, call in a professional. They will typically make a house call to help identify the problem and offer a solution.
How long does it take to dry out a damp wall?
This will depend on what type of wall you have, the severity of the problem and conditions. But as a general guideline, less severe damp on stud partition walls will take around one to two weeks, while severe damp on brick walls can take a couple of months to fully dry out. But in cold conditions with high humidity the drying process can take a lot longer.
So how can you speed up the process? Natural ventilation, i.e, opening the windows, will help air flow through a room, which encourages moisture to evaporate quicker. And pumping up the heating in a home will help as well.
Alternatively, the best dehumidifiers will help suck moisture out of the air which will shorten drying times. If dealing with rising damp, removing skirting boards will expose the bottom of the wall to air, which will again help remove moisture much quicker.
What happens if you just paint over damp?
Painting over damp is a short term fix, it may hide the problem for a few weeks or months, but in the long term you will be causing more issues. The damp will still exist and adding more paint can help keep the damp in the wall or ceiling, making the problem worse rather than better.
It will help cultivate mould and eventually you will get peeling and bubbling paint, which will need to be removed and the area repainted. This will continue until the damp is dealt with.
Can I use a dark colour paint to hide damp?
You can use any colour paint you want to hide damp as long as the area has been prepared properly and the right steps taken. However, adding a dark colour – especially over white – will help hide any stains quickly. If stains do start to reappear they are typically harder to spot on a darker colour.
Damp can lead to mould and you want to try to remove mould from walls without damaging paint before you have to go further. It can also affect wood so check out our How to clean mould off wood guide to get a clean surface for painting.