

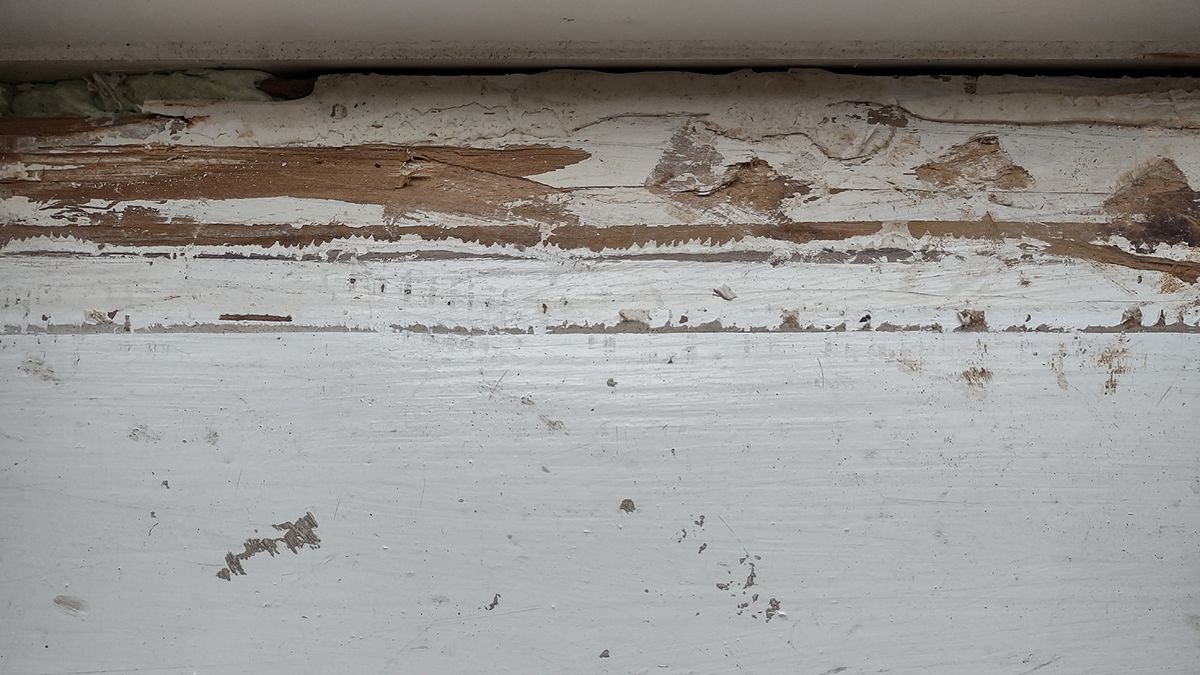

Renovating old wooden window sills can add a fresher, cleaner aesthetic to your entire home — both inside and out and no matter what types of windows you have.
In this article, I’ll take you through how my partner and I renovated the window sill in our spare room, using a handful of low-cost materials and a modest selection of tools.
Before we start, one note of caution: paint and beading can hide a multitude of problems, so you should be aware that there’s a chance that your window sill is beyond restoration. In these cases, it’s sometimes best to add a new wooden board to the top of the sill, then integrate this with the existing board through sanding and painting. (We actually took this approach to a previous window sill renovation.)
The type of windows in your room may also limit what you can do with your sill. For instance, if you have sash windows with shutters on the inside, then the sill will need to be low enough to allow clearance for the shutters. With all that said, let’s get started on our wooden window sill renovation.
Step-by-step guide to renovating a wooden window sill
A wooden window sill can be successfully refurbished using a relatively modest selection of tools and materials (at least, compared to a mega project such as laying a parquet floor).
The tools you will need
Here’s the full list of items we used to renovate our wooden sill:
Step 1: Remove paint and unwanted features
My window sill had a plastic strip joining the sill top to the window surround. I decided to remove this, so that I could add a wooden bead instead — of course your own window sill ideas may require you to choose something else.
The best tools for this job will vary depending on how your window sill has been put together. I used a craft knife to ease away the strip, and then a hammer and chisel to prise off the strip and the leftover adhesive underneath it.
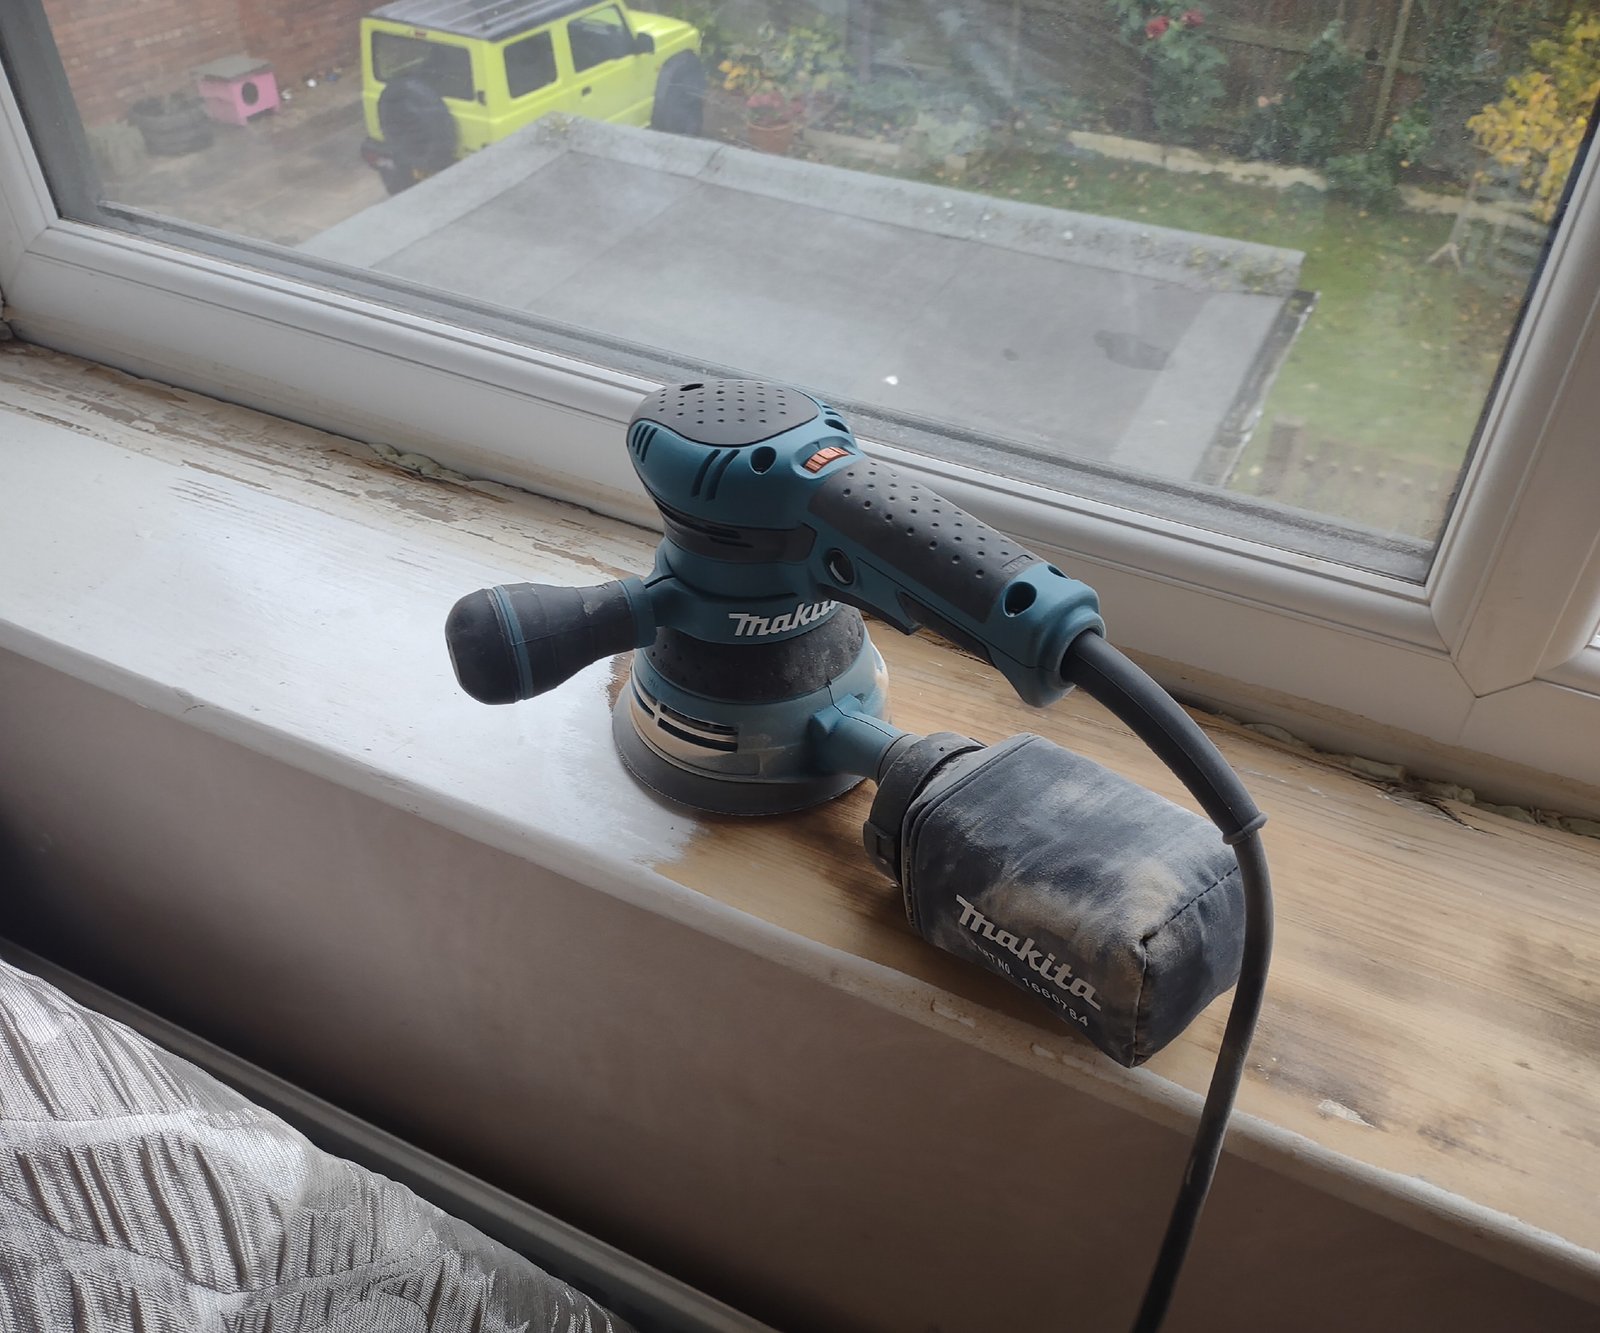
Remove most of the paint (provided that it’s non-toxic) using a sanding tool, such as a random orbital sander. I used the excellent Makita BO5041, which I’ve reviewed for Homebuilding & Renovating. Move the sander up and down the surface of the wood, allowing the tool to do the hard work. Finish by sanding the awkward corners of the sill using a suitable tool, such as a detail sander or sandpaper.
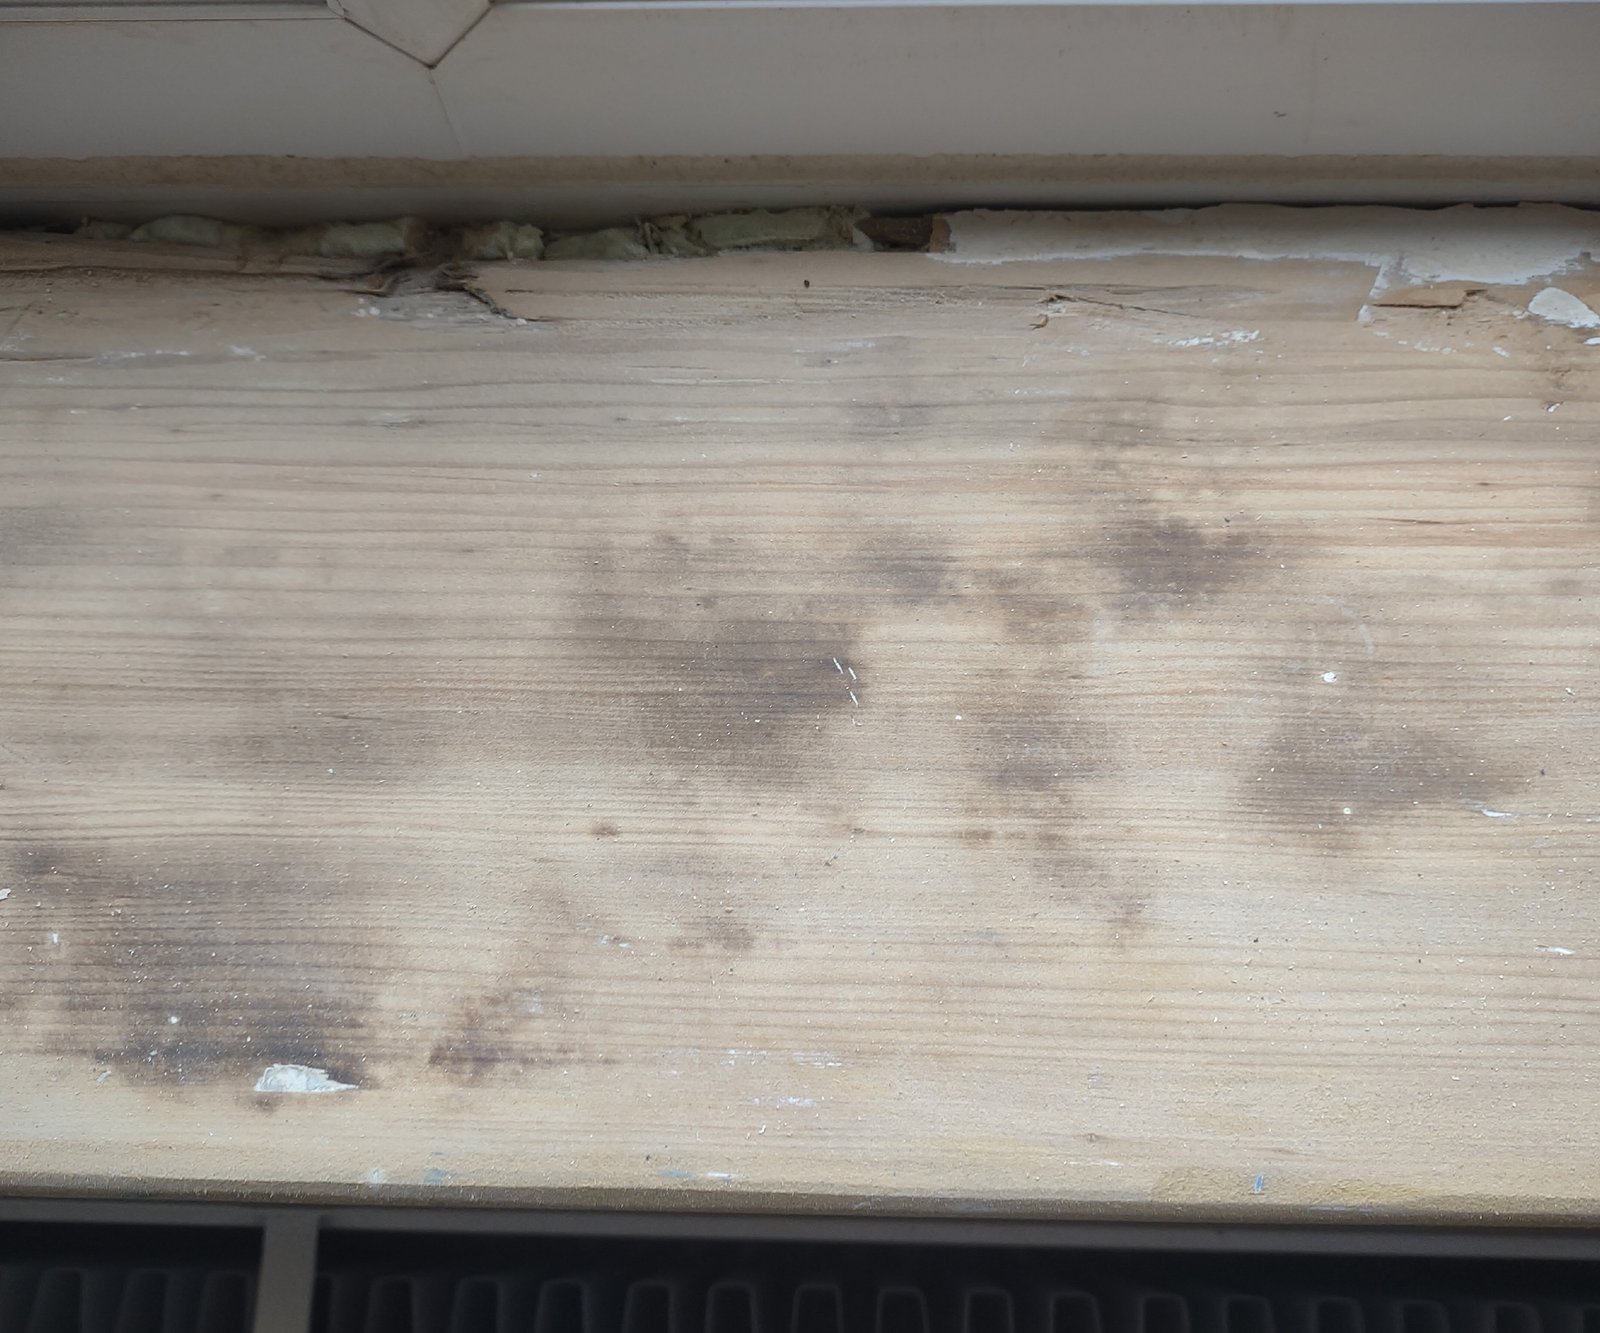
You’ll now get a good look at the surface of the window sill for the first time. There will likely be a gap (perhaps a ragged-looking one) where the sill meets the window frame. The extent of the gap (or any damage) will determine what length of moulding is needed for the next step.
Step 2: Attach a piece of D-shaped moulding at the back of the sill
Go to a timber merchant and ask them to cut a piece of D-shaped moulding (and a piece of glazing bead) to the width of your window sill (where it meets the window surround).
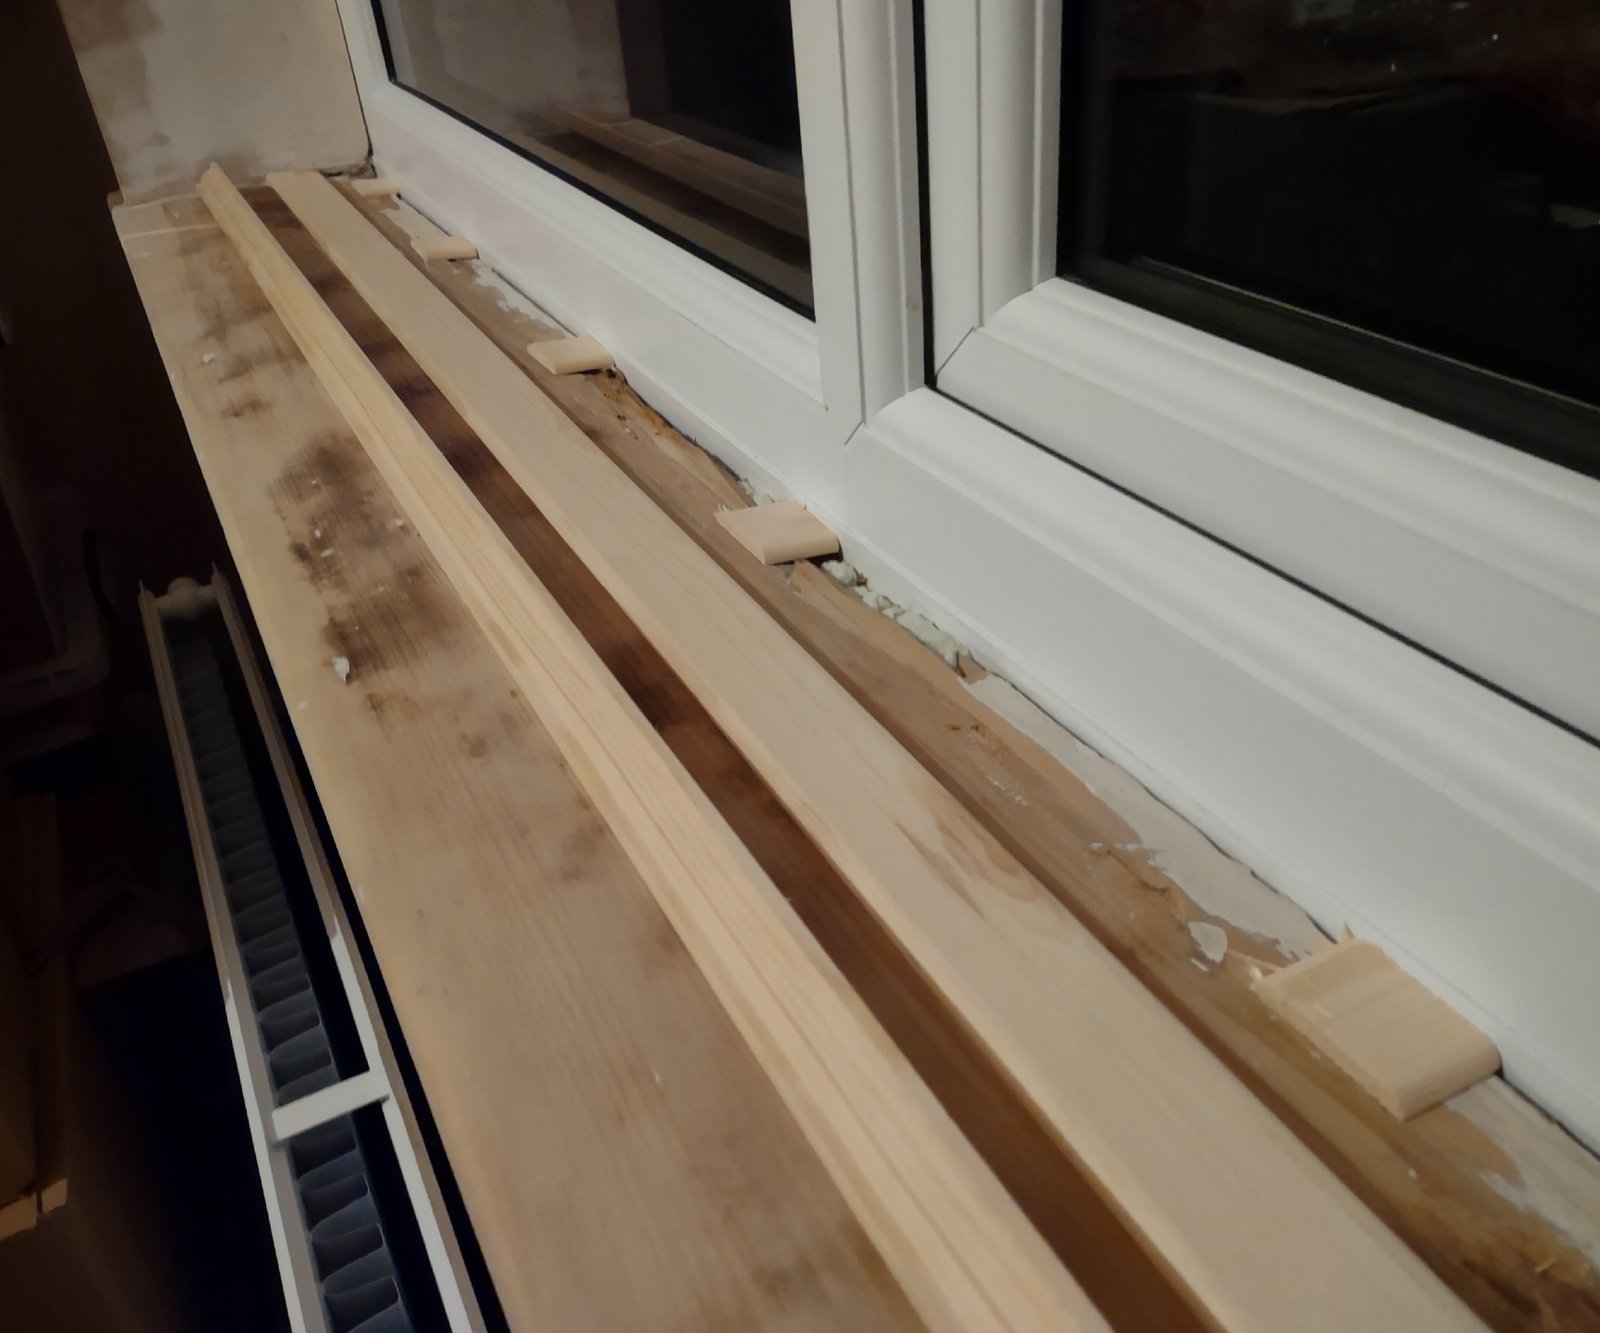
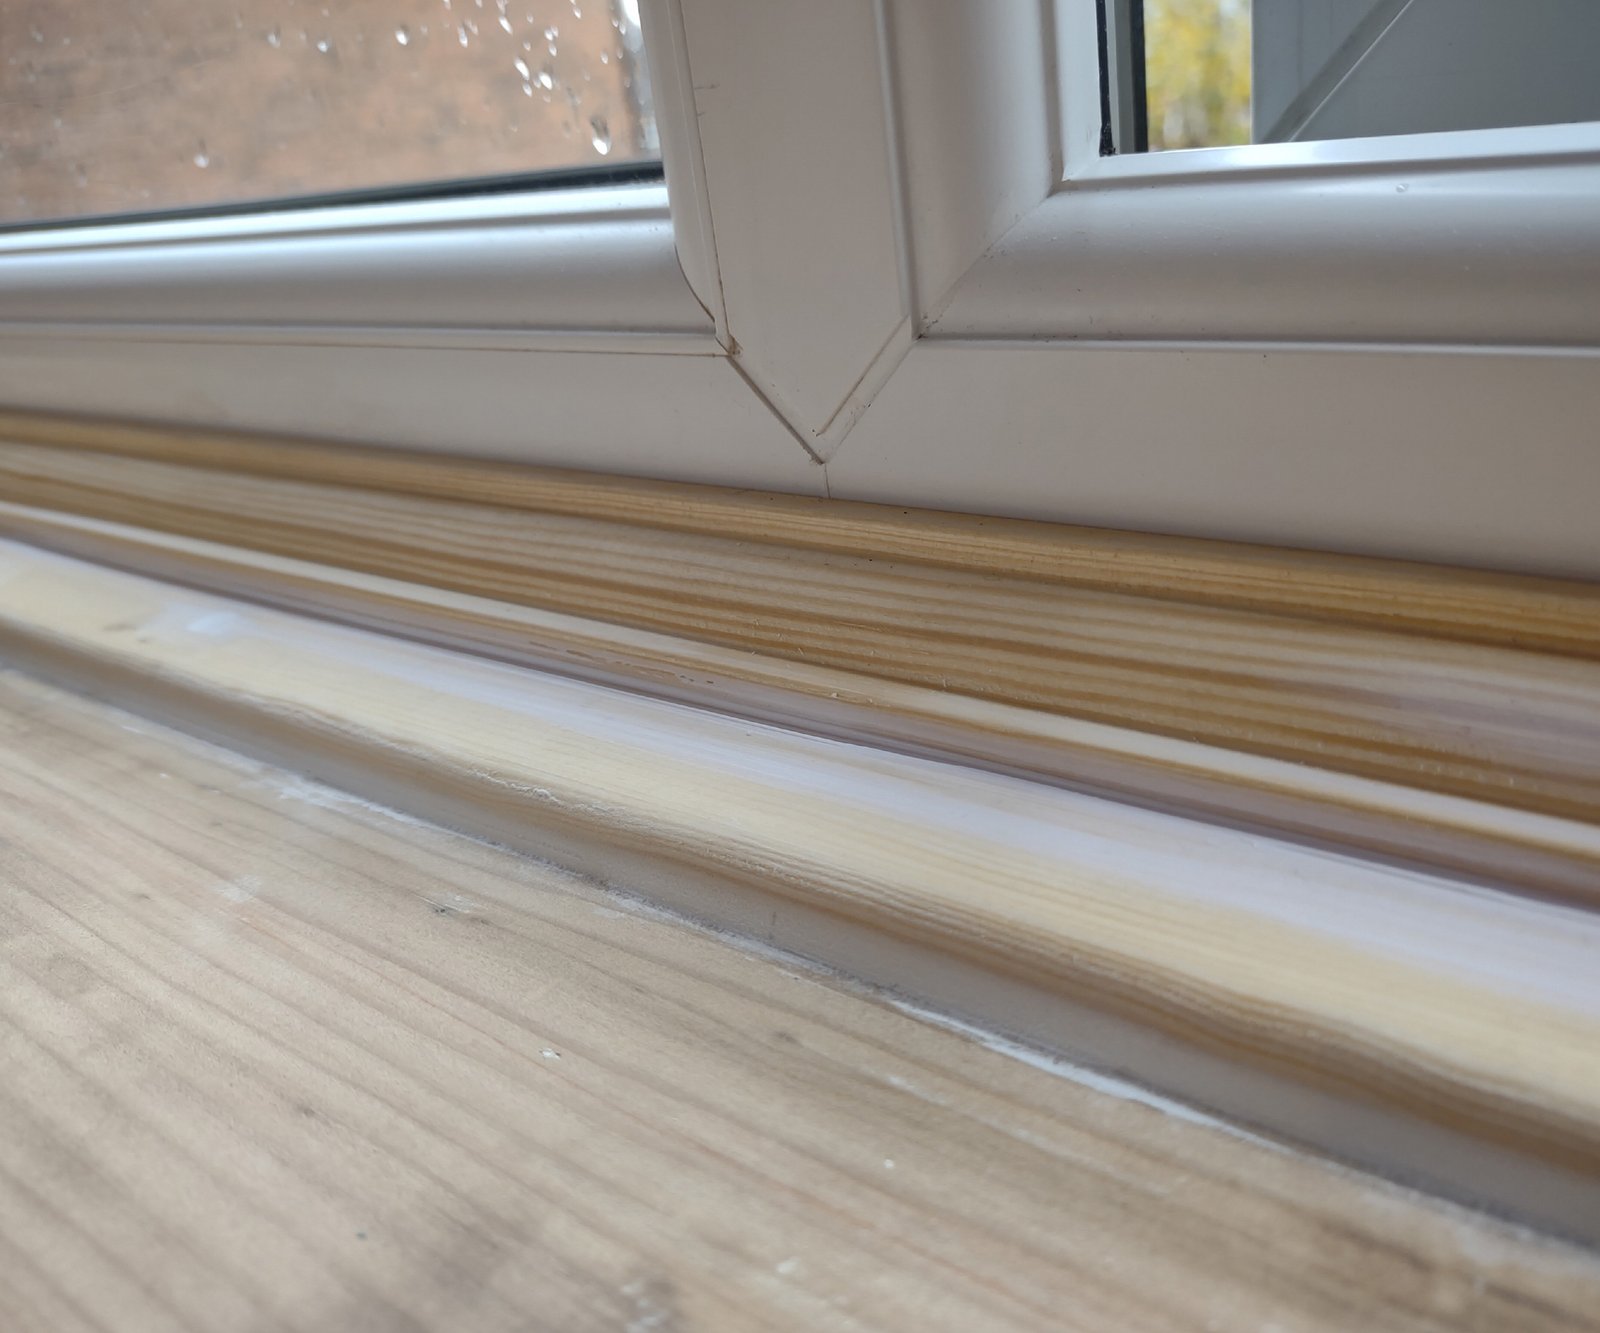
Attach the D-shaped moulding to the back edge of the window sill. Countersink some holes into the moulding using a drill with a countersinking bit attached, and then drive screws through the holes and into the sill.
Because my window sill is a little uneven (let’s put that down to character), I cut some small pieces of wood to pack under the moulding in a few places.
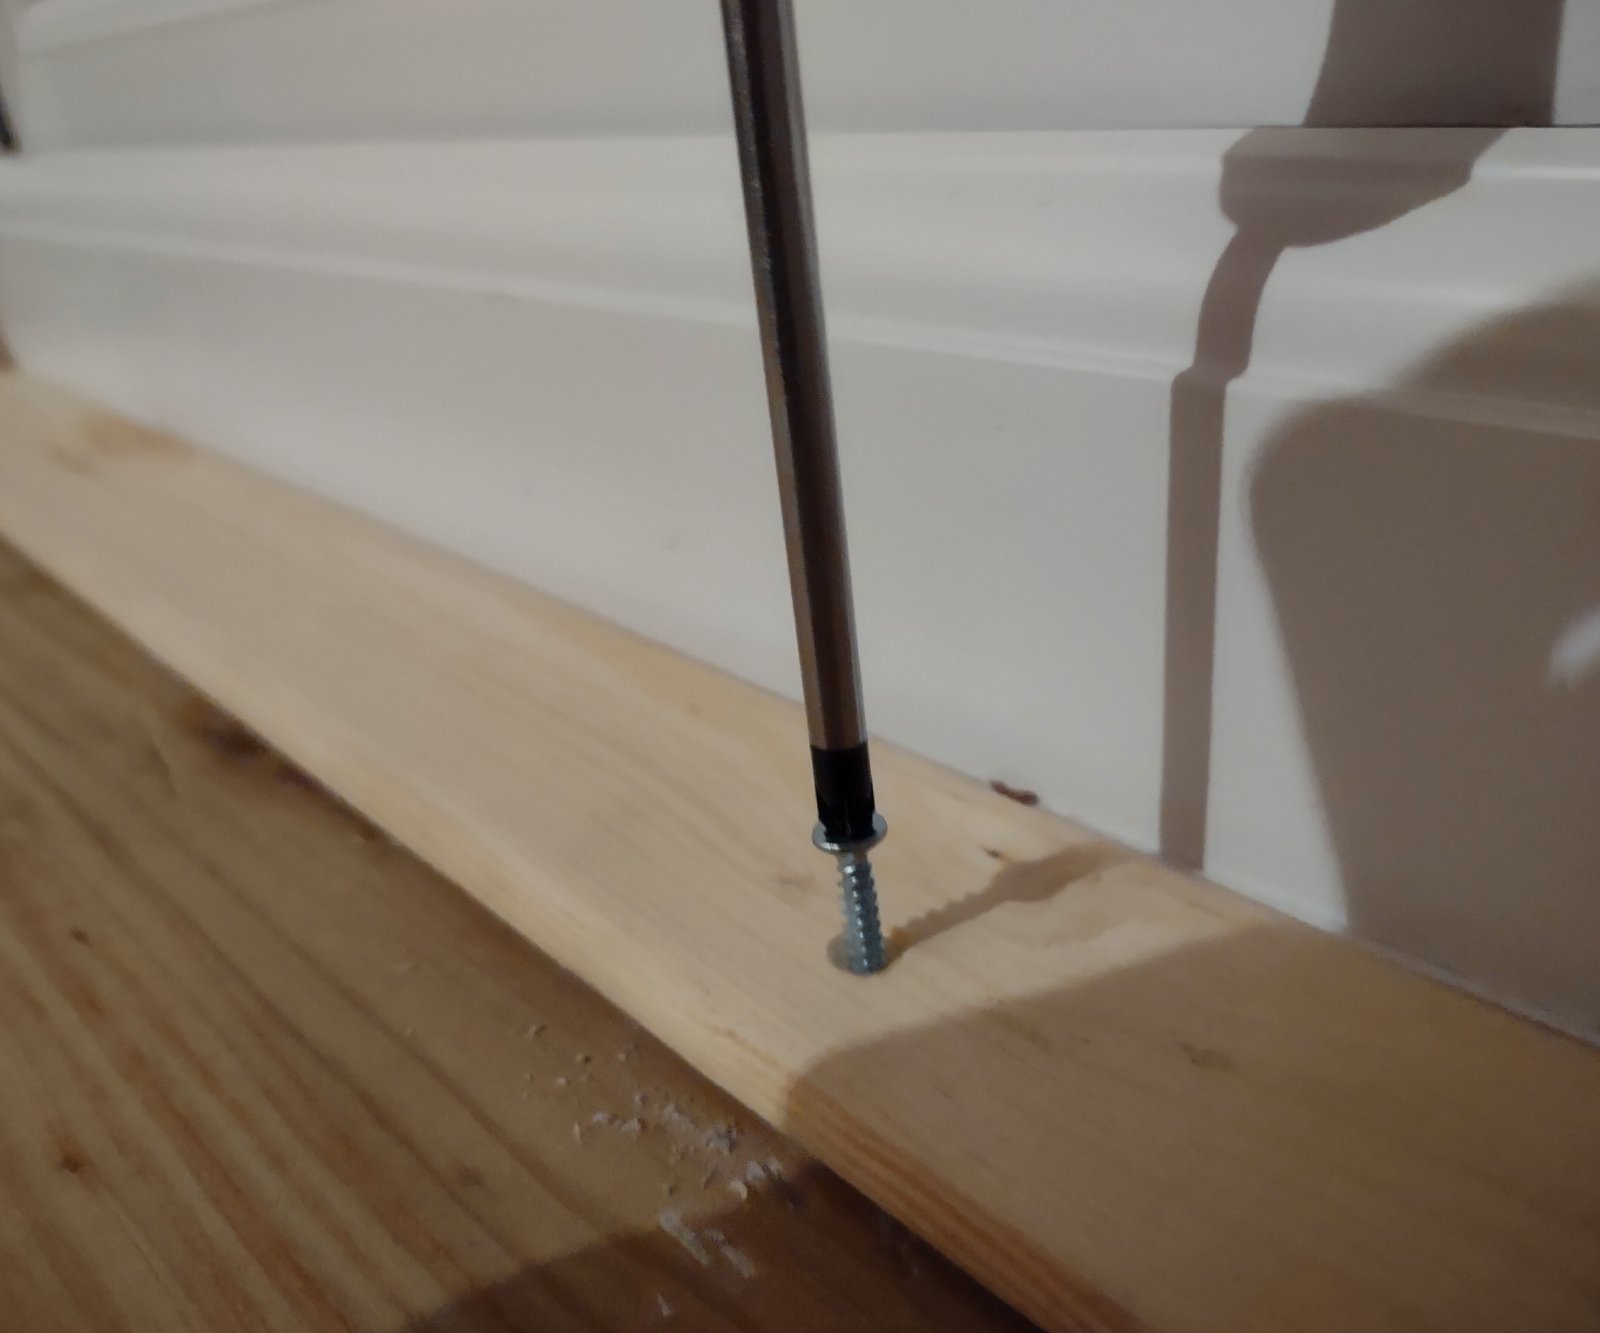
Step 3: Attach a strip of glazing bead to the top of the D-shaped moulding
Position your glazing bead at the back of the D-shaped moulding, and stick it in place using a grab adhesive, such as rather this crudely named product from EVO-STIK, available at Amazon. You’ll need to load the adhesive into a caulking gun in order to use it.
Knock a few short panel pins into the glazing bead to fix it even more securely to the D-shaped moulding, and then tap the heads of the pins down into their holes using a nail punch.
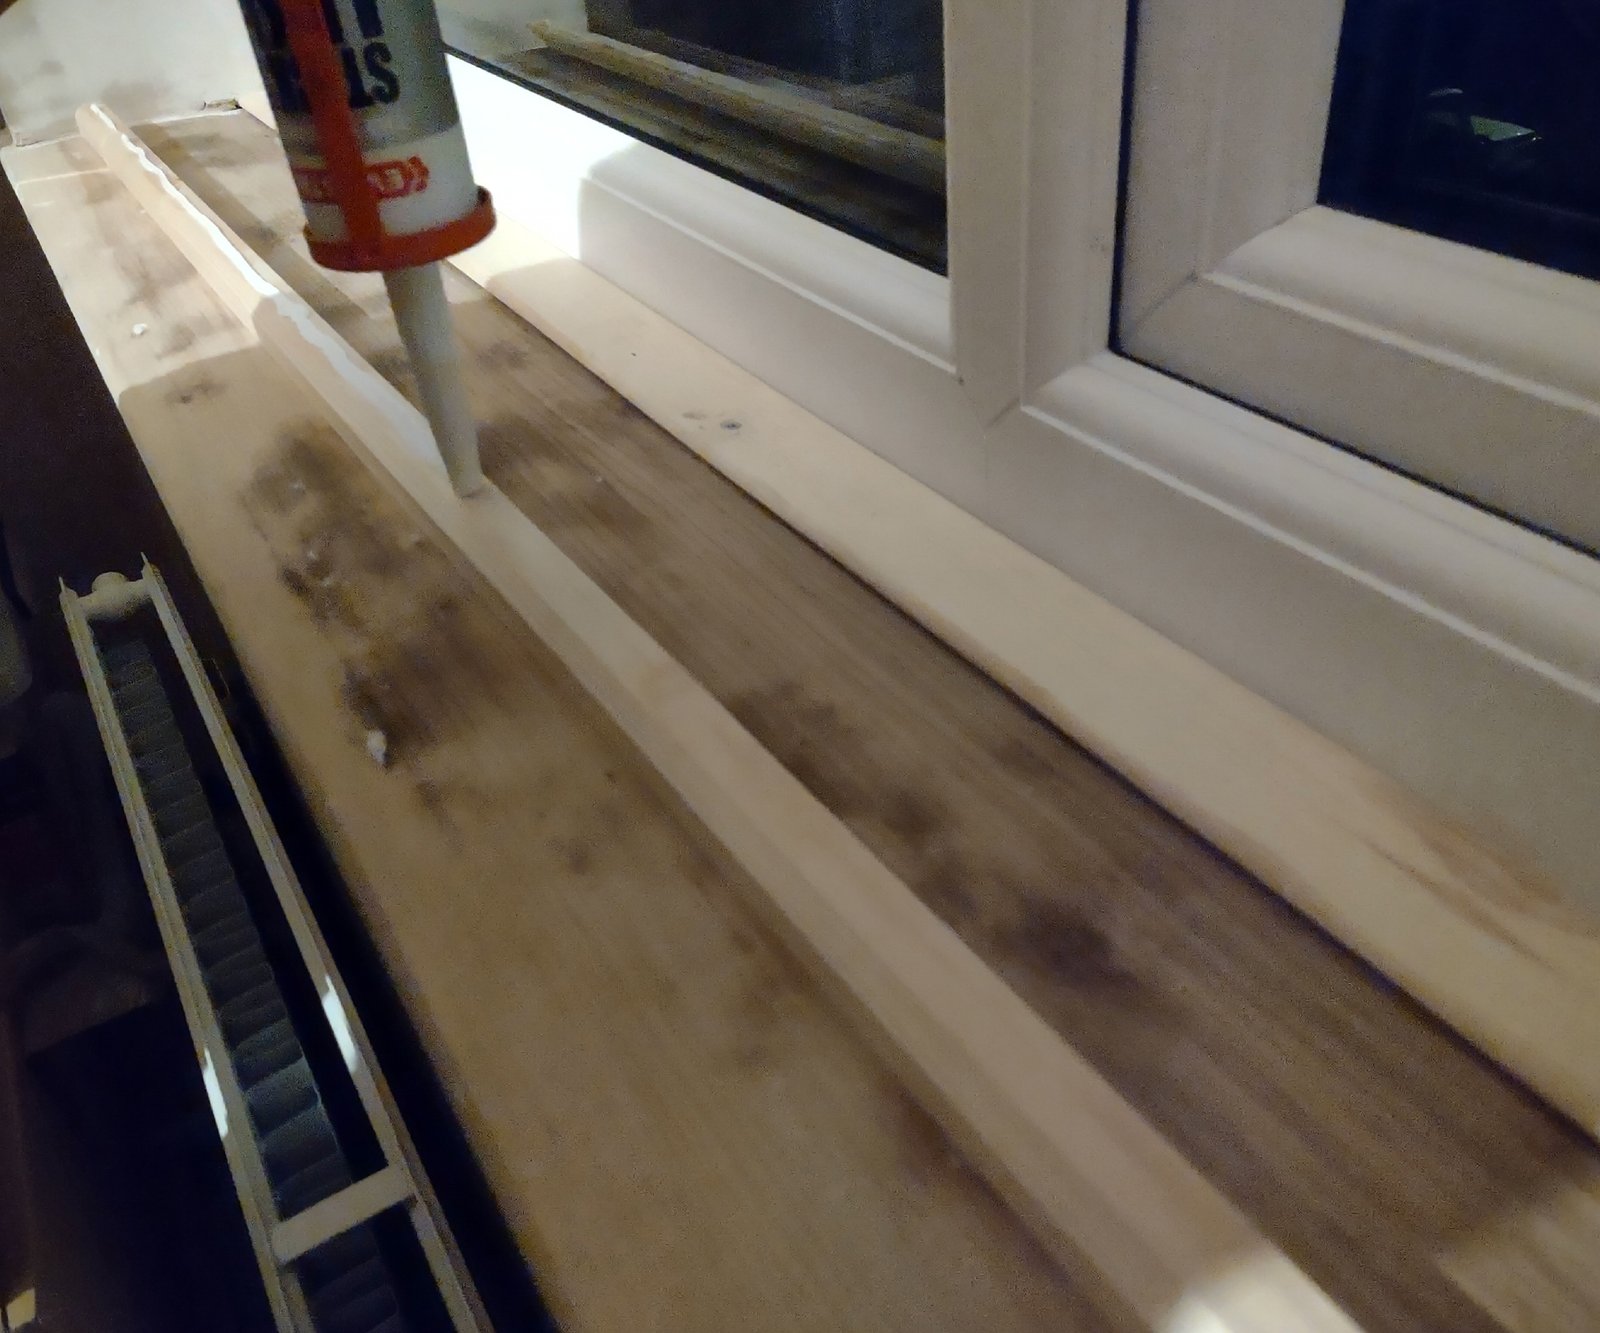
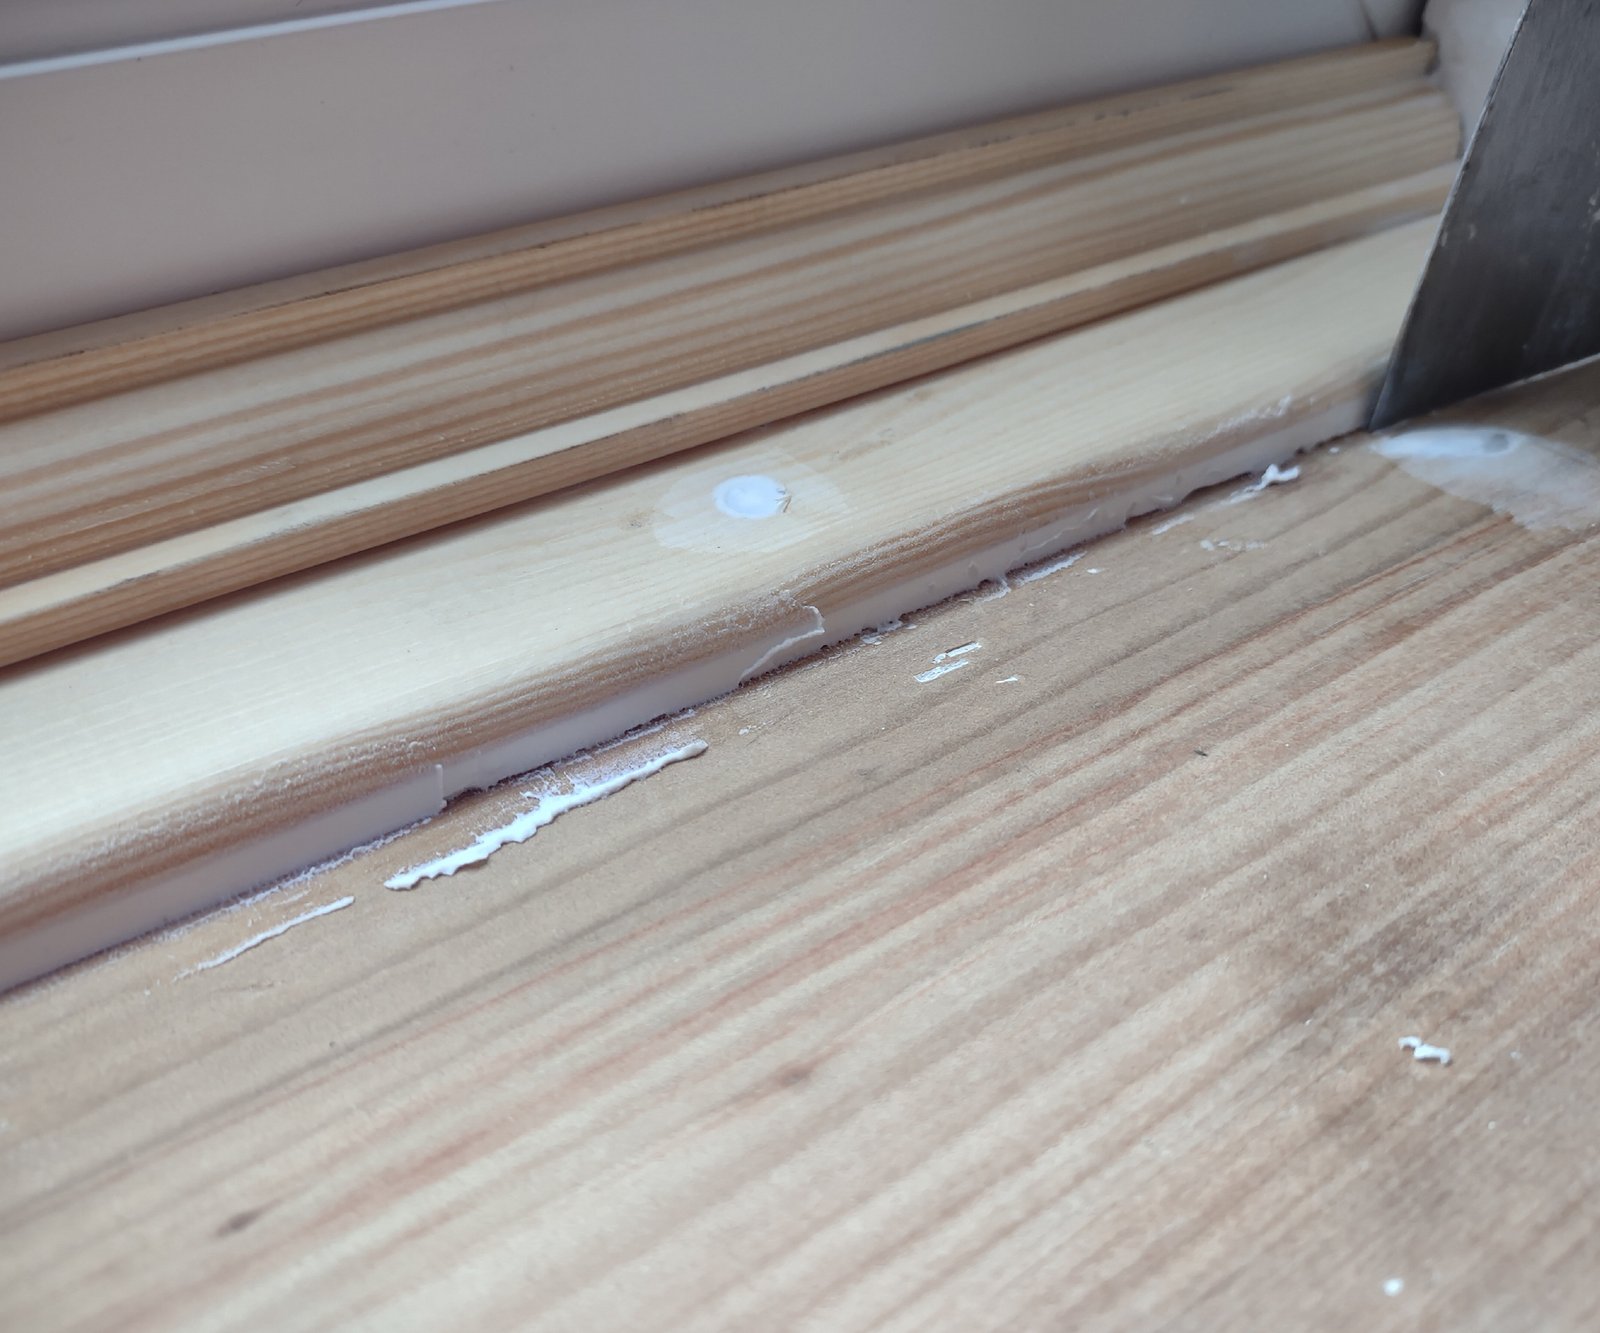
Step 4: Fill joins and nail holes
Use a filler such as Polyfilla for Wood from Amazon to fill any gaps in the surface of the woodwork, such as the nail holes in the glazing bead or pre-existing damage in the sill surface.
Now is time for caulking windows. Load some decorator’s caulk into your caulking gun, and squeeze with consistent pressure to push a line of caulk into any gaps around the edges of the sill (this could be anywhere it meets the walls).
When the caulk and filler are dry, lightly sand the entire sill to create a smooth surface, ready for painting. Remember to vacuum up the dust.
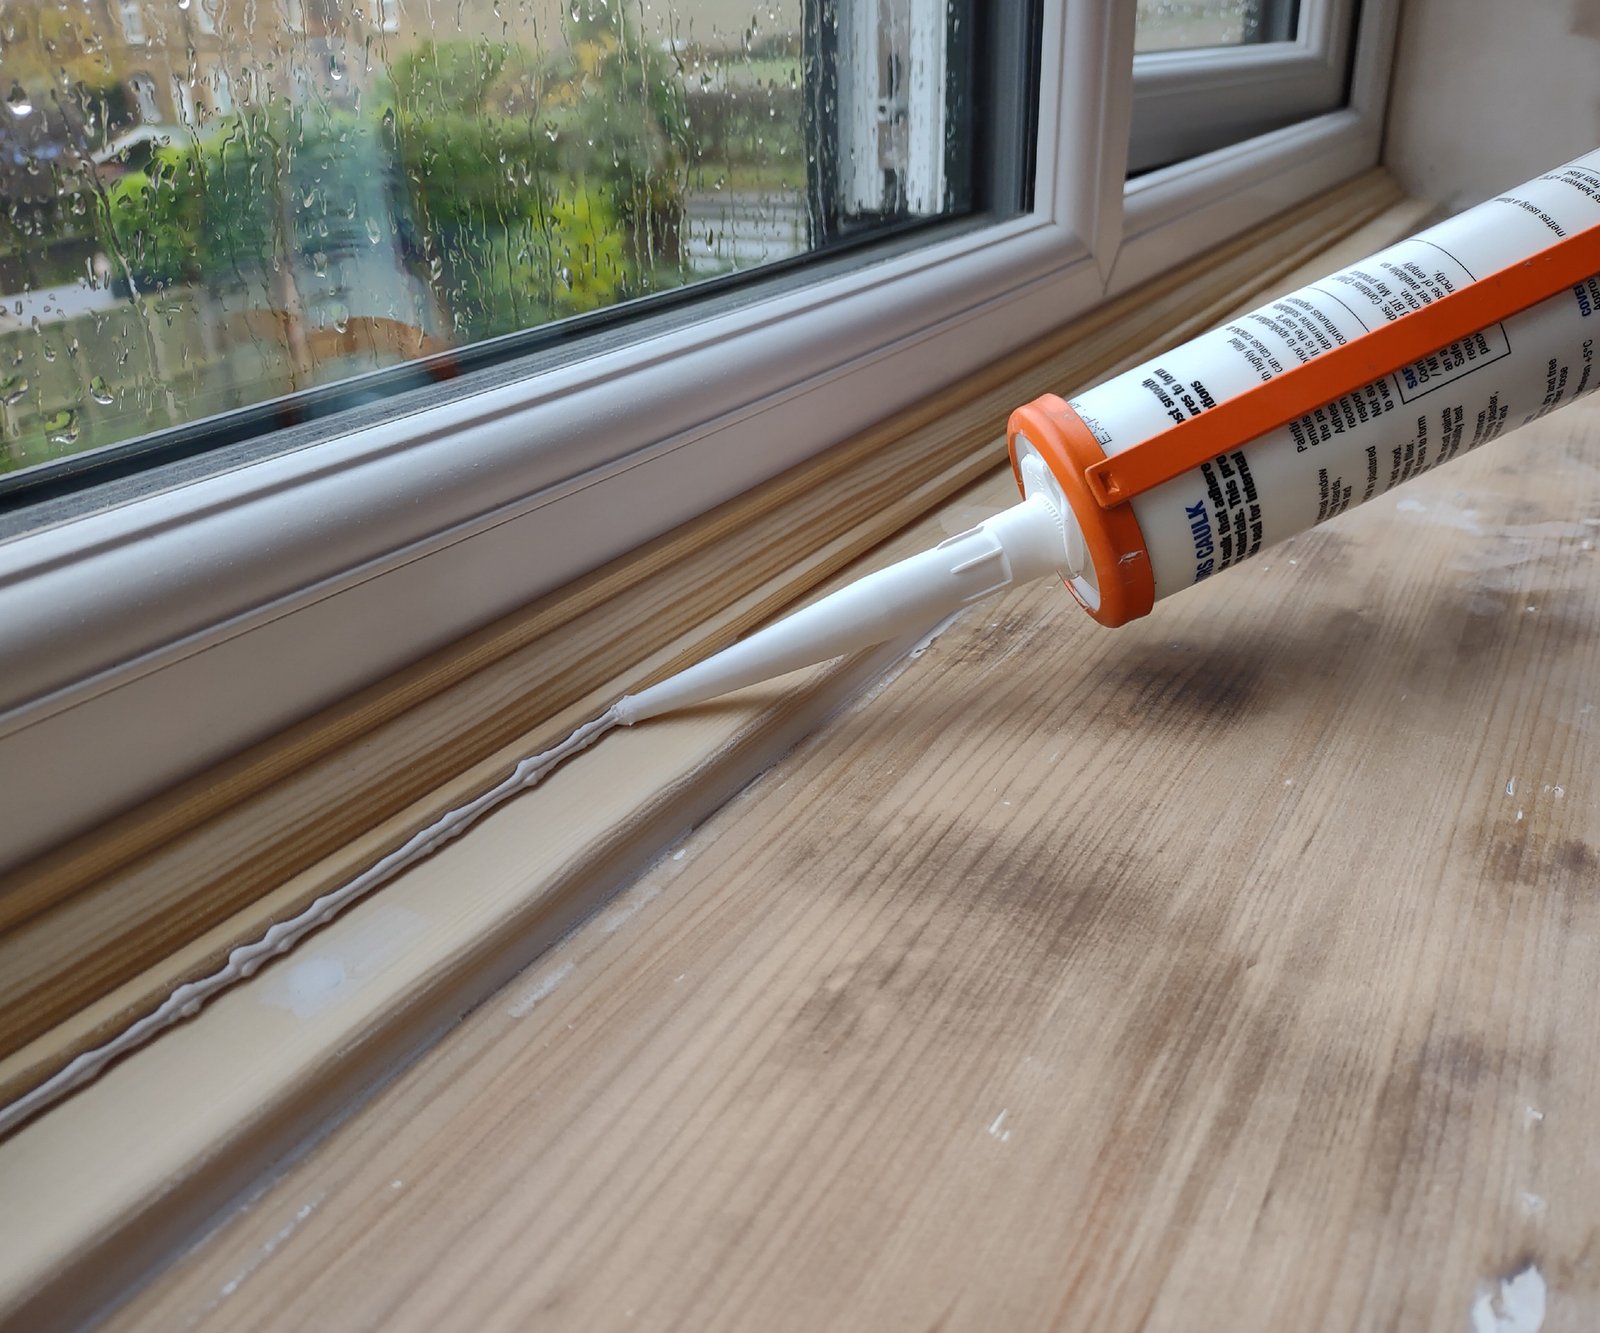
Step 5: Paint the woodwork
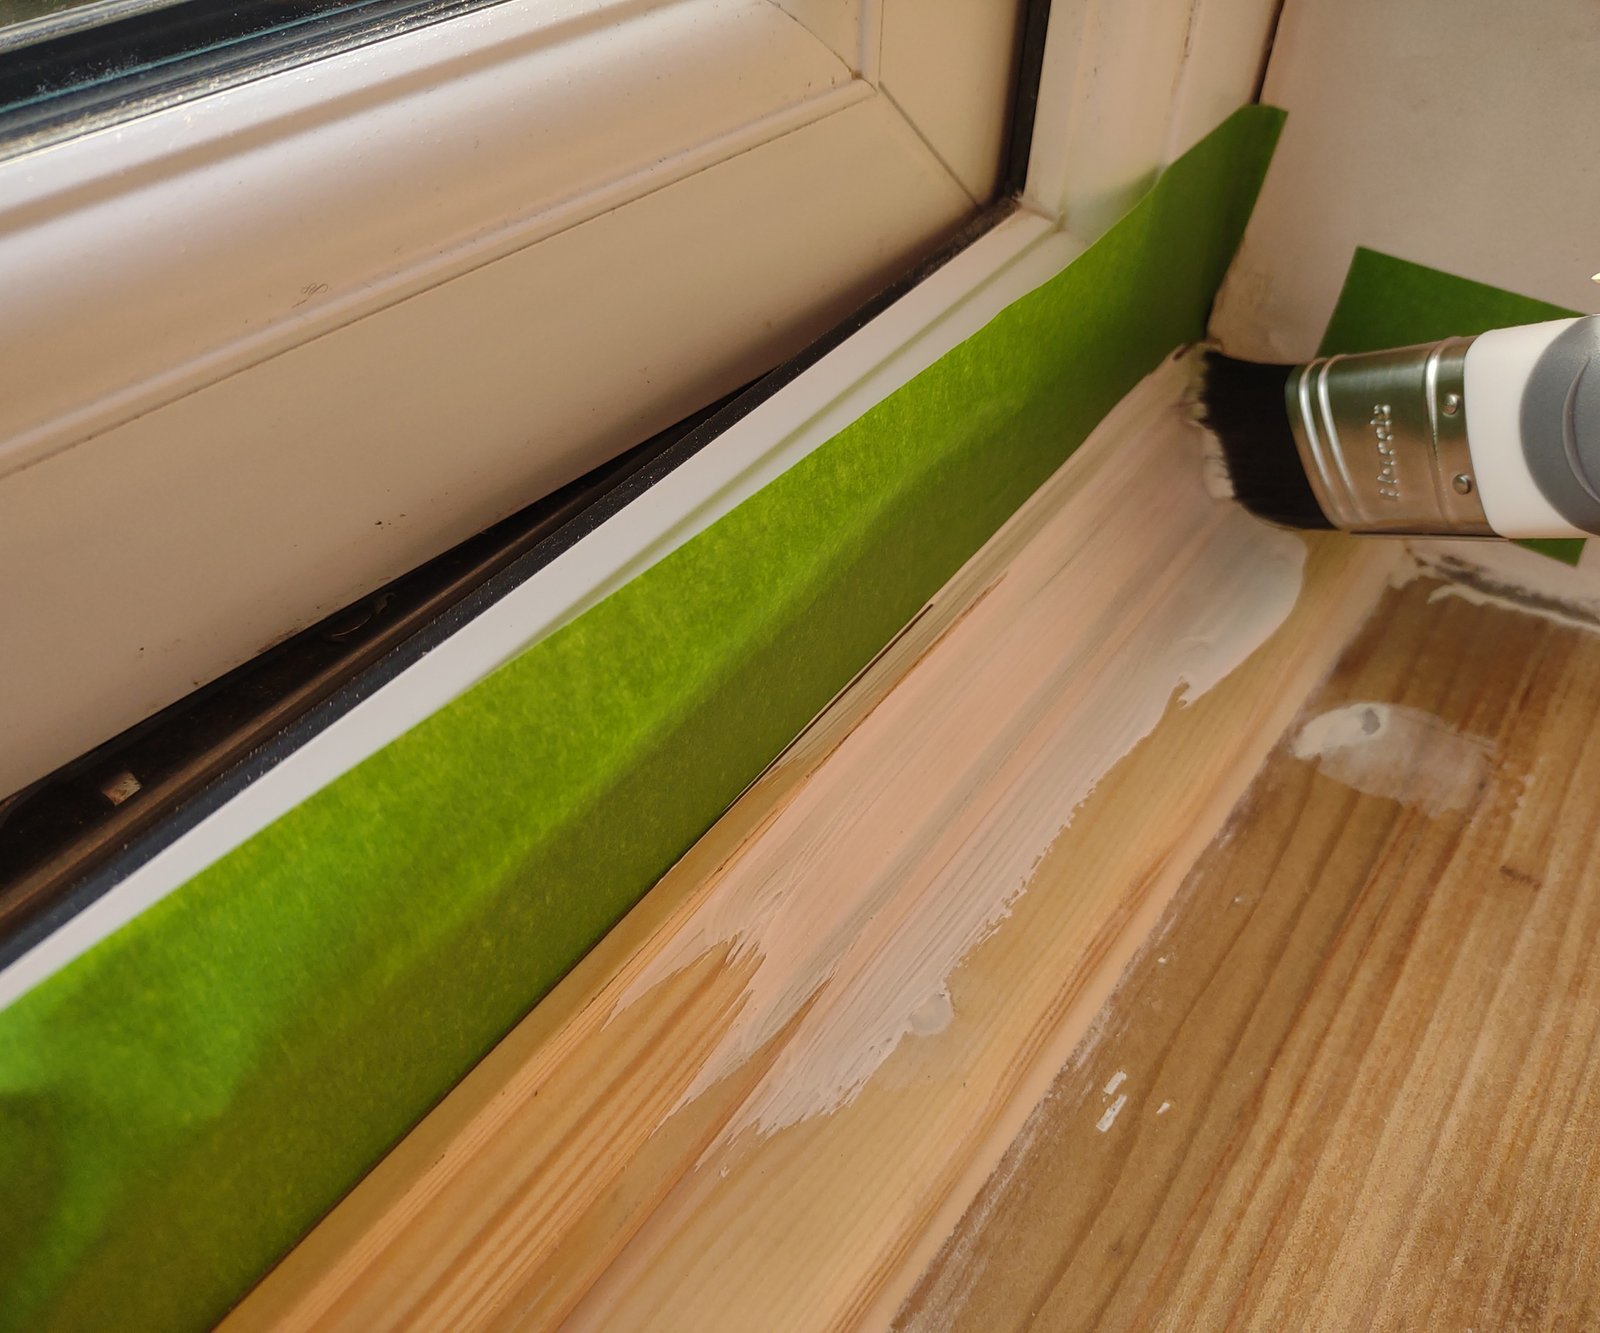
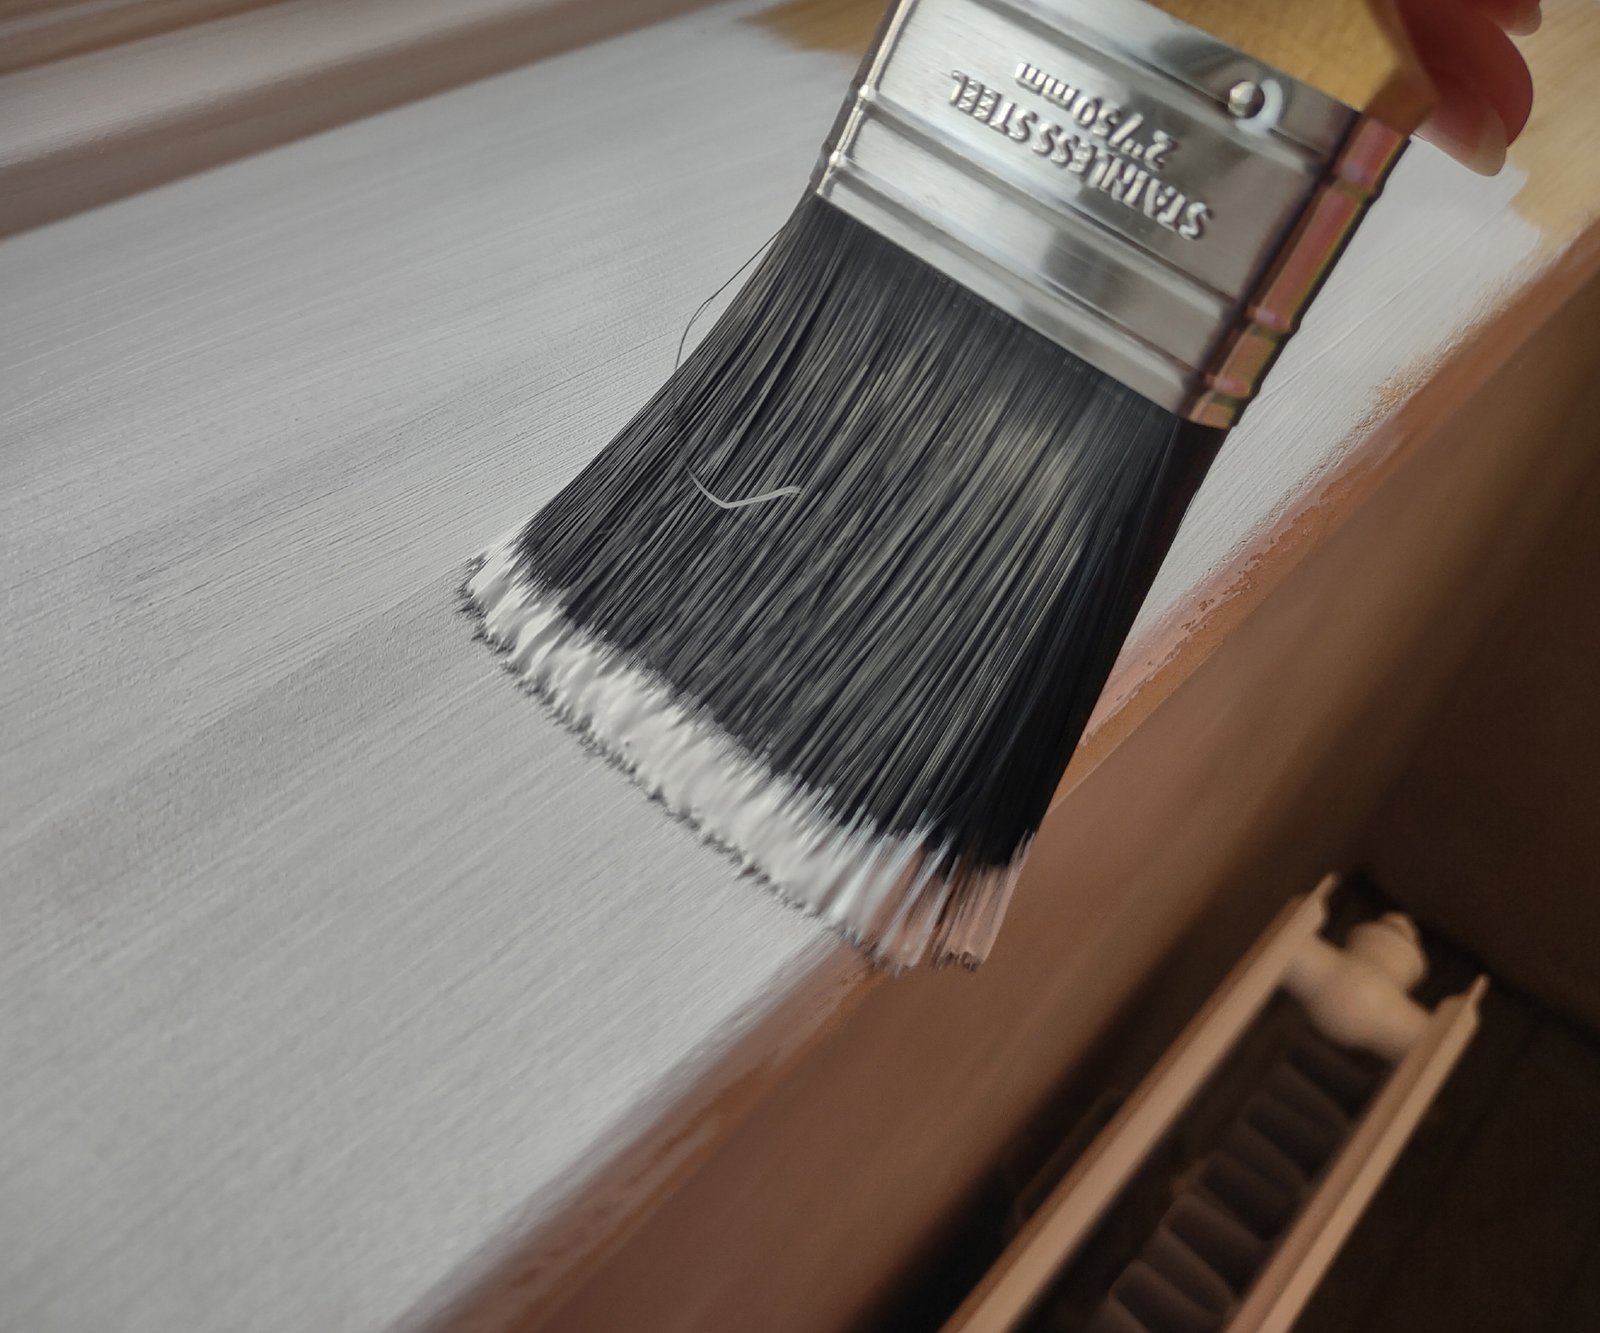
Painting window sills can be a little tricky but is quite achievable with a little patience. Apply two coats of acrylic primer/undercoat to the entire sill (including the D-shaped moulding and glazing bead), allowing time for drying between coats.
Use a fine brush. We used the Harris Ultimate Woodwork Gloss Precision Tip Paint Brush from B&Q for cutting in (painting around the edges), and a good-quality woodwork gloss paintbrush for the rest.
Sand lightly, and then finish with two top coats of woodwork paint to suit your room’s interior design. We opted for a brilliant white.
The finished result
After painting the window sill, I left it to dry overnight before surveying the finished results. As you can see, using moulding and beading to cover the unsightly gap between the sill and the window frame, leaves a nicely polished finished result.
Below you can see the before pictures versus after carefully renovating the sill.
Image 1 of 2

FAQs
What is a window sill?
A window sill is a horizontal ledge or shelf, extending from underneath the window frame to the room-side edge of the window recess (or often further). Various materials are used to construct window sills, including stone, tile and uPVC. The most commonly used option is wood — as was the case in the renovation detailed in this article.
Many homeowners prize their window sills as places to display ornaments, flowers, and so on. The sill will often extend further back into the window recess than you can see, so that it can help support the window and its frame.
Can all window sills be renovated?
It will usually be possible to renovate a window sill. However, some homeowners will encounter obstacles that make renovation difficult. For instance, if a window sill was painted with lead-based paint by a previous occupant, then removing the old paint will require the use of specialist techniques or products, such as stripping with paint stripper. Other potential issues include wood rot, and extensive damage which may become apparent when renovating a house.
How do I decorate a wooden window sill?
Two ways you can add a personal touch to your wooden window sill are your choice of glazing bead, and your choice of paint.
Glazing bead is a particular style of decorative moulding, but you can find different designs via specialist sellers, such as ‘lamb’s tongue’ or ‘triangular’.
The colour of paint used on your window sill will also make a big difference. White-painted window sills can make a room brighter, while coloured paints tend to make a stronger style statement.